

Valimail supports Multi-factor Authentication (MFA), which can be set up via SMS verification or an authenticator app. This article will walk you through the steps to enable, disable, and reset MFA.
TABLE OF CONTENTS
- Steps to Enable or Disable Multi-Factor Authentication for your account
- Enable or Disable Multi-Factor Authentication for your organization
- Reset Multi-Factor Authentication
Steps to Enable or Disable Multi-Factor Authentication for your account
1. Log into your Enforce or Monitor account.
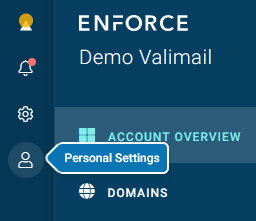
2. Click on the Personal Settings icon on the top left.

3. Scroll down to the Multi-Factor Authentication tile, and click on the toggle button to enable or disable MFA (the button will show green when MFA is enabled).
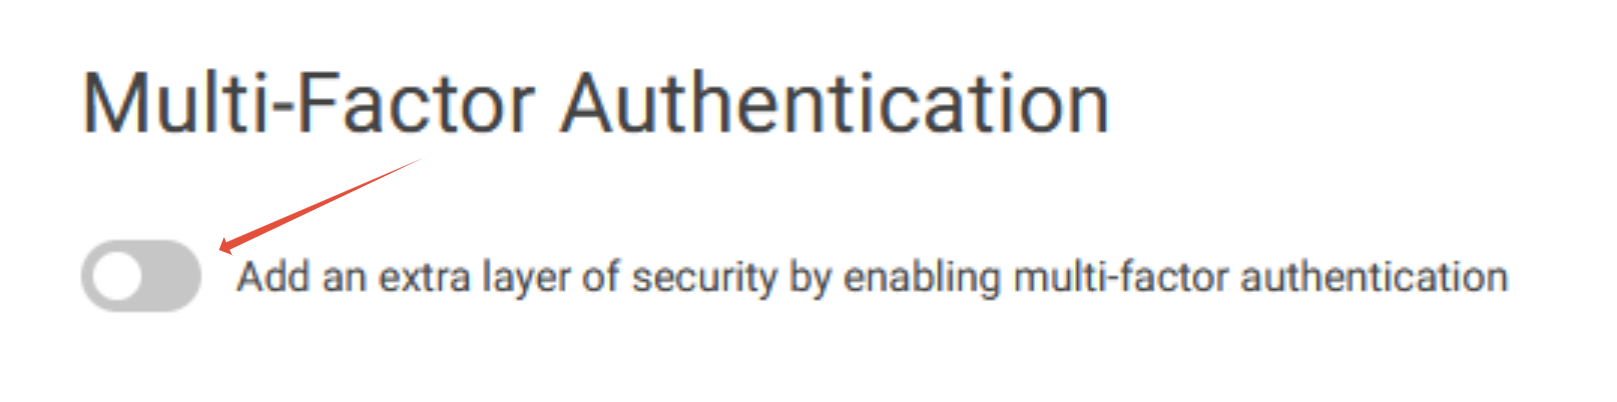
In the event that you have just enabled MFA, you will need to follow the steps below to complete the set up process.
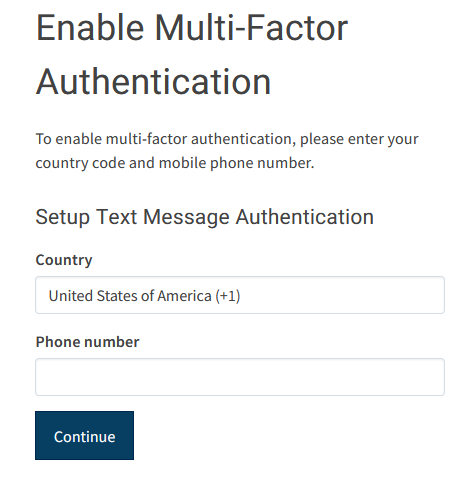
1. Enter the Country name and Phone number, then click Continue.
2. You can configure MFA via SMS or an Authenticator App.
- If you choose to set up MFA via SMS, then you will have to use in the next step the authentication code that you received on your phone.
- To set up MFA using an Authenticator App, you will need first to open the app on your phone, add a new login and scan the QR code on the screen (there may be differences in these steps depending on the app that you are using).
3. Grab the Authentication Code from your Authenticator App or the SMS message you received (depending on which method you prefer), type it in the Authentication Code field, and click Activate.

Enable or Disable Multi-Factor Authentication for your organization
This feature is available only to Admins (Owner-type users), and it enables them to enforce the use of MFA across all users on the account. Follow these steps to Enable or Disable the MFA requirement for your organization.
1. Log in to your Valimail account with a user that has Owner-level permissions.
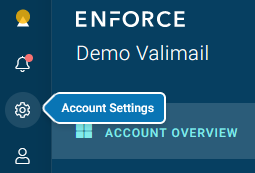
2. Click on the Account Settings button.
3. Under the General section, note the Multi-Factor Authentication section on the right.
4. Click on the toggle button to turn the MFA requirement ON or OFF.

5. OPTIONAL Refresh the page after completing step 4 and will have the option to enable authentication via SMS for all users.

Reset Multi-Factor Authentication
In case you need to replace your mobile device or have lost access to the authenticator app, you can reset MFA and configure it using a new authenticator app or mobile phone number.
Reset MFA for any user on the account
This option is available only to Owner-type users (Admins).
1. Go to Account Settings and then Users.

2. Click on the Reset MFA button next to the user that requested this action.

3. Click on the YES, RESET IT button.

Note: The next time the user will log into his account, he will have to go through these steps in order to set up MFA.
Reset MFA for your own username
Please note that this option is available only if your organization has enabled Multi-Factor Authentication at the account level. If you don't have access to reset your own MFA Token, please ask an Owner-type user (Admin) on the account to do it for you, or email us at support@valimail.com for assistance.
1. Click on the Personal Settings button on the top left.
2. Click on the RESET YOUR MFA TOKEN button.

3. Click YES, DELETE IT.

4. You will be logged out of your account, and asked to set up MFA following these steps.
As always, if you have any questions, please don't hesitate to submit a ticket.