

SPF(supported) (dedicated subdomain)
DKIM(recommended)
This article covers the SPF and DKIM authentication processes for Amazon SES and how they are managed in Valimail Enforce. While only one of the two authentication methods is required for an email to pass DMARC, our recommendation is to configure both whenever possible.
Below you will see how to set up Easy DKIM for your domain and how to configure Amazon SES in Enforce.
Once you setup Easy DKIM for your domain, then you can start sending authenticated Amazon SES emails on behalf of that domain.
TABLE OF CONTENTS
- Configuring DKIM authentication for your Amazon SES email with Easy DKIM
- Add the Amazon SES DKIM keys in Enforce
- Configuring SPF authentication for your Amazon SES emails
- Enable SPF alignment in Amazon SES for your domain
Configuring DKIM authentication for your Amazon SES email with Easy DKIM
Note: If you need to create or verify a domain, see Creating a domain identity.
1. Sign in to the AWS Management Console and open the Amazon SES console here.
2. In the navigation pane, under Configuration, choose Verified identities.
3. In the list of identities, choose an identity where the Identity type is Domain.
4. Under the Authentication tab, in the DomainKeys Identified Mail (DKIM) container, choose Edit.
5. In the Advanced DKIM settings container, choose the Easy DKIM button in the Identity type field.
6. In the DKIM signing key length field, choose RSA_2048_BIT.
7. In the DKIM signatures field, check the Enabled box.
8. Choose Save changes.
9. Add the 3 DKIM keys in Valimail Enforce.
10. Once the DKIM keys are published in Enforce, the DKIM Verification Status in the AWS console, will change to: verified.
Amazon SES usually detects the publication of the DKIM records between 24-48 hours.
You can find the instructions on how to setup Easy DKIM in AWS here.
Add the Amazon SES DKIM keys in Enforce
1. Go to your domain's Configuration page in Valimail Enforce and publish the newly created DKIM key.
a. Scroll down and add the two DKIM keys in your configuration, by clicking on Add a DKIM key.
b. Enter the selector name, CNAME target value, associate the keys with Amazon SES and then click Add.

You can find more detailed information on how to add a DKIM key in Valimail Enforce here.
Configuring SPF authentication for your Amazon SES emails
Once you establish that Amazon SES is an authorized sender for your domain, you will need to add the service in your Enabled Senders list in Enforce.
1. Please go to your domain's Configuration page in Enforce.
2. Click on the + sign from the Enabled Senders section:
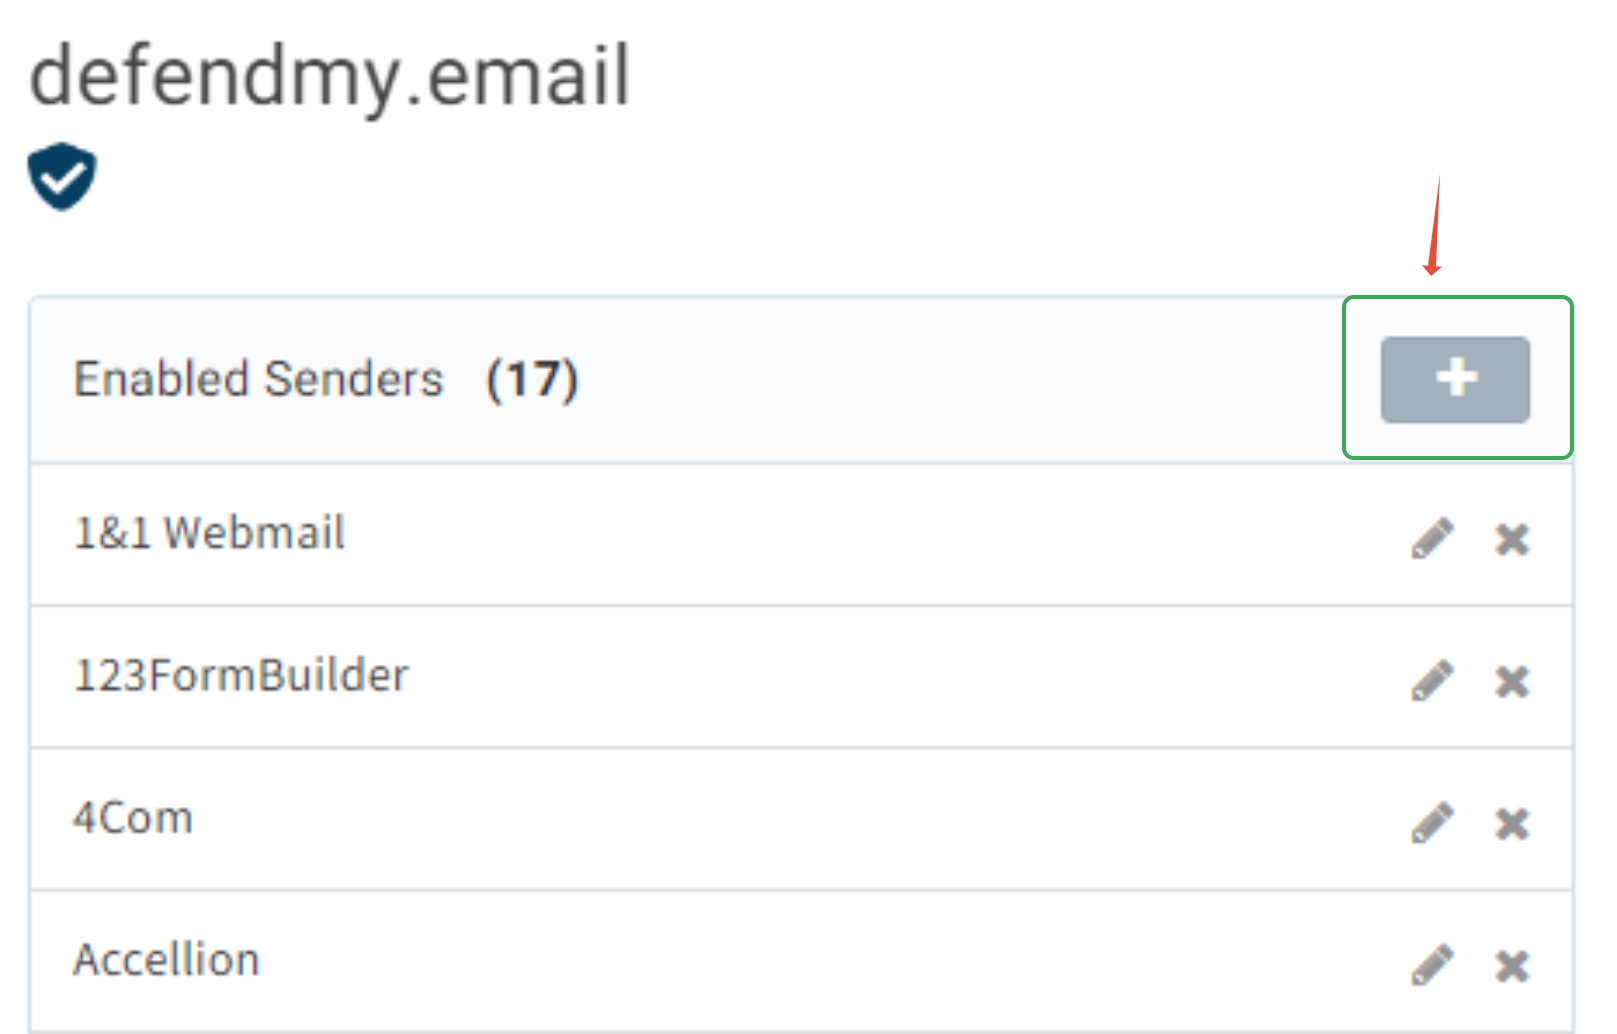
3. Choose Amazon SES from the list of configurable senders and then click Enable:

We encourage you to use the comment section for any useful information about your sending service, such as the name of the service owner, change request ticket numbers, etc.
Enable SPF alignment in Amazon SES for your domain
Amazon SES only supports SPF alignment using a dedicated subdomain configuration.
The process of setting up a dedicated subdomain requires you to add records to the DNS configuration for that subdomain. You have to publish an MX record so that your domain can receive the bounce and complaint notifications that email providers send you. You also have to publish an SPF (type TXT) record in order to prove that Amazon SES is authorized to send email from your domain.
Below are the steps to configure SPF using a dedicated subdomain for Amazon SES.
Setting up a MAIL FROM domain for a verified domain
1. Open the Amazon SES console here.
2. In the left navigation pane, under Configuration, choose Verified identities.
3. In the list of identities, choose the identity you want to configure where the Identity type is Domain and Status is Verified.
4. If the Status is Unverified, complete the procedures at Verifying a DKIM domain identity with your DNS provider to verify the email address's domain.
5. At the bottom of the screen in the in the Custom MAIL FROM domain pane, choose Edit.
6. In the General details pane, do the following:
a. Select the Use a custom MAIL FROM domain checkbox.
b. For MAIL FROM domain, enter the subdomain that you want to use as the MAIL FROM domain.
c. For Behavior on MX failure, choose one of the following options:
- Use default MAIL FROM domain – If the custom MAIL FROM domain's MX record is not set up correctly, Amazon SES uses a subdomain of amazonses.com. The subdomain varies based on the AWS Region that you use Amazon SES in.
- Reject message – If the custom MAIL FROM domain's MX record is not set up correctly, Amazon SES returns a MailFromDomainNotVerified error. Emails that you attempt to send from this domain are automatically rejected.
d. Choose Save changes - you'll be returned to the previous screen.
Publish the MX and SPF (type TXT) records to the DNS server of the custom MAIL FROM domain:
In the Custom MAIL FROM domain pane, the Publish DNS records table now displays the MX and SPF (type TXT) records in that you have to publish (add) to your domain's DNS configuration. These records use the formats shown in the following table.
| Name | Type | Value |
|---|---|---|
| MX | 10 feedback-smtp. |
| TXT | "v=spf1 include:amazonses.com ~all" |
In the preceding records,
subdomain.domain.comwill be populated with your MAIL FROM subdomain- region will be populated with the name of the AWS Region where you want to verify the MAIL FROM domain (such as us-west-2, us-east-1, or eu-west-1, etc.)
- The number 10 listed along with the MX value is the preference order for the mail server and will need to be entered into a separate value field as specified by your DNS provider's GUI
- The SPF's TXT record value has to include the quotation marks
From the Publish DNS records table, copy the MX and SPF (type TXT) records by choosing the copy icon next to each value and paste them into the corresponding fields in your DNS provider's GUI.
IMPORTANT: To successfully set up a custom MAIL FROM domain with Amazon SES, you must publish exactly one MX record to the DNS server of your MAIL FROM domain. If the MAIL FROM domain has multiple MX records, the custom MAIL FROM setup with Amazon SES will fail.
You can find the instructions to set up SPF in Amazon SES using a dedicated subdomain here.
As always, if you have any questions, please don't hesitate to submit a ticket.
